Draw A Mug
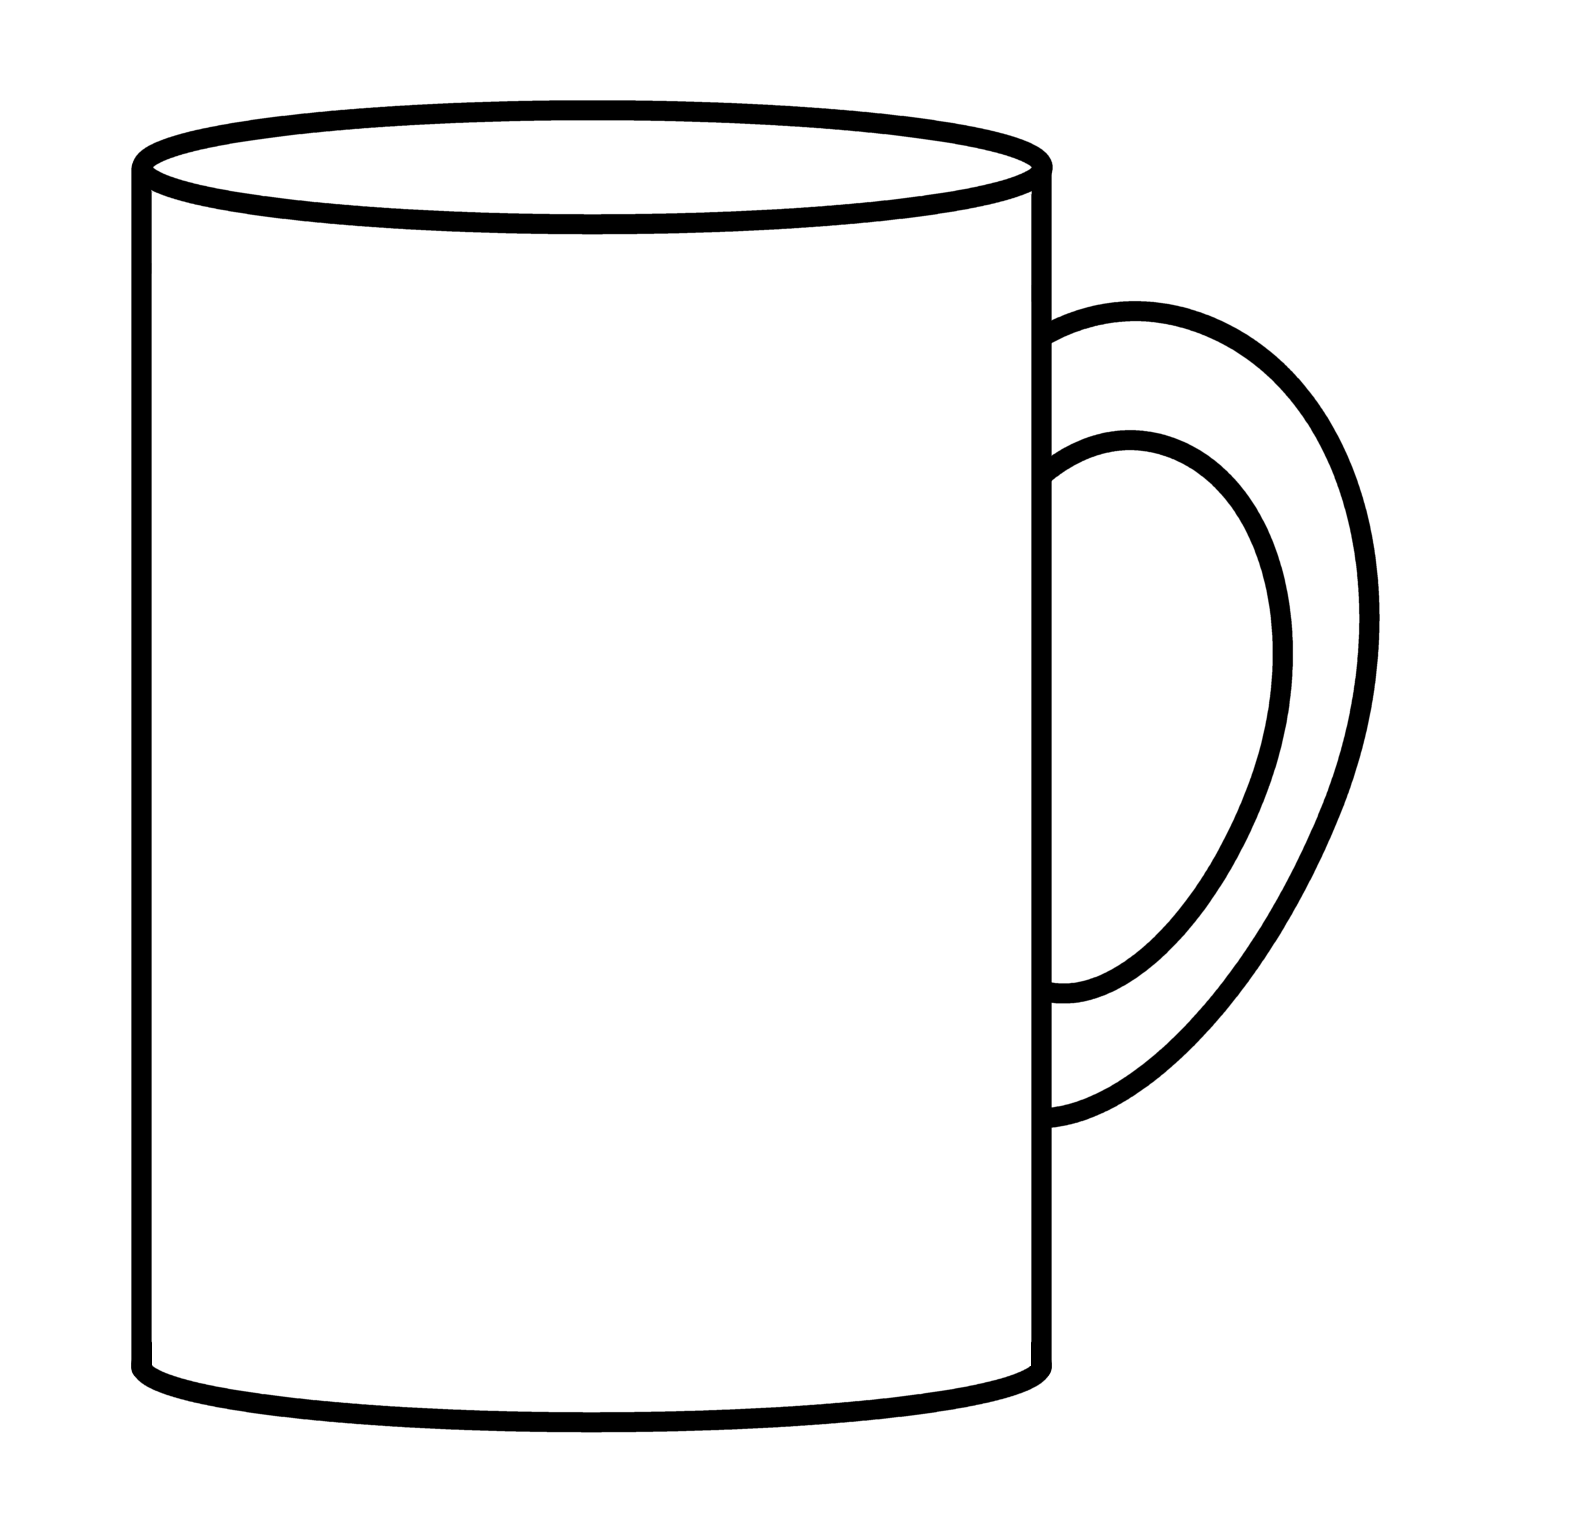
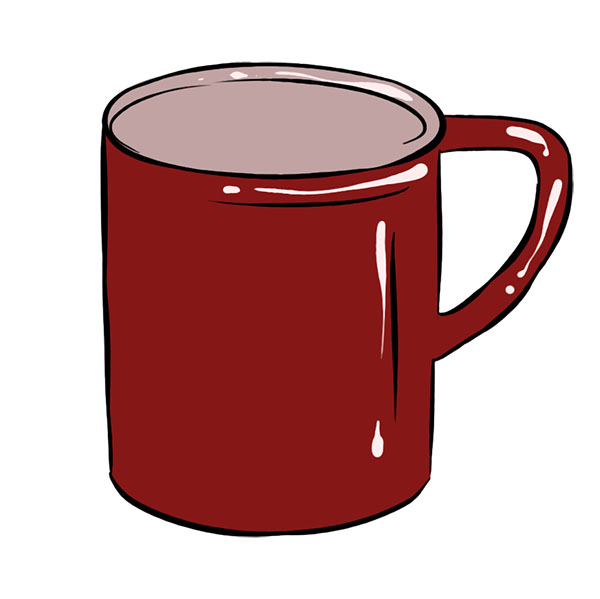
Draw A Mug - Therefore, this is the time to erase all the straight lines inside the mug except the outer outline. Like the “j” i created below. This can be done simply by sketching an oval with two square sides parallel to each other at the top. Draw a flat oval near the middle top of the page. These first thick lines are meant to be more exploratory than precise. Draw a curved line near the top of the mug to represent the rim. Today i am adding a fun mug project to the list with a tutorial on how to infuse a. Think of it as half of the love symbol. More how to draw everyday objects drawing tutorials Web draw both of these curves to be flatter (less rounded/closer to a straight line) than the one that defines the bottom (in step two). The entire body of the mug is colored in a vibrant red, except for the top, which are left white to show the mug’s interior. Web start by drawing the top and bottom ovals. Web drawing a mug doesn’t have to be complicated. Web now it’s time to add some details to make the mug look more realistic. Web how to draw a mug. Today i am adding a fun mug project to the list with a tutorial on how to infuse a. These also make nice gifts. Pick a meaningful quote or a cute graphic to decorate the mug with,. These first thick lines are meant to be more exploratory than precise. Web this is quite an easy tutorial on 'how to draw a mug' so i hope you like it. The coloring should be even, with careful attention to staying within the lines. Web drawing the mug handle. Web this is quite an easy tutorial on 'how to draw a mug' so i hope you like it. I like to use my chip [brush] eraser to brush away any. Therefore, this is the time to erase all the straight lines. You should have a simple outline of a mug’s main body once done. Web decide what you want to put on the cup, and maybe practice drawing it on a piece of paper before drawing on the mug. If you’re looking for some nifty ideas, a popular trend is to create letter initials. Add a horizontal line across the middle. Draw hill like shape & horizontal line as shown. Make necessary improvements to finish. Tape it to you mug or plate and trace your design. Draw them as double lines parallel to each other seamlessly connecting them to the mug. Be sure to add 3 layers of butcher paper around the mug before you. Pick a meaningful quote or a cute graphic to decorate the mug with,. Like the “j” i created below. Web decide what you want to put on the cup, and maybe practice drawing it on a piece of paper before drawing on the mug. Draw a flat oval near the middle top of the page. Please like and comment down. I did a huge post about how to use the cricut mug press when it first came out—and then i did a roundup of a bunch of different cricut mug projects to get your creative juices flowing. Web learn how to draw a mug of coffee with easy step by step instructions, perfect for beginners. Web welcome to my channel!. Before adhering it to your mug, clean mug surface with an alcohol wipe and lint roller. On one side of the mug draw the outline of the handle. The pencil marking on the back should leave a faint template of your design. I did a huge post about how to use the cricut mug press when it first came out—and. This can be done simply by sketching an oval with two square sides parallel to each other at the top. Before adhering it to your mug, clean mug surface with an alcohol wipe and lint roller. Web how to draw a mug. Brace the drawing paper at an angle, or your drawing will be distorted. Web learn how to draw. Web first, let’s draw the top of the coffee mug. Next, draw sides of the coffee mug. They're going to be different sizes but the same shape and draw the sides of my mug in and obviously if you're drawing your own mug and the sides are straight or the sides have a different kind of shape, go ahead and. Pick a meaningful quote or a cute graphic to decorate the mug with,. Therefore, this is the time to erase all the straight lines inside the mug except the outer outline. Web first, let’s draw the top of the coffee mug. Make necessary improvements to finish. Before we begin, please make sure you have all the necessary materials such as. Web draw on ceramic mug or plate. You should have a simple outline of a mug’s main body once done. Draw a curved line near the top of the mug to represent the rim. You can also draw a few vertical lines on the body of the mug to indicate a texture or pattern. Even if you’re a complete novice,. Drawing the handle is pretty easy. Web sharpie mug ideas. These also make nice gifts. Draw hill like shape & horizontal line as shown. Like the “j” i created below. The coloring should be even, with careful attention to staying within the lines. Web learn how to draw a mug of coffee with easy step by step instructions, perfect for beginners. Next, draw sides of the coffee mug. Web welcome to my channel! The pencil marking on the back should leave a faint template of your design. Therefore, this is the time to erase all the straight lines inside the mug except the outer outline. These first thick lines are meant to be more exploratory than precise. With your pencil, cover your design on the back side of the paper. Web this is quite an easy tutorial on 'how to draw a mug' so i hope you like it. Web draw both of these curves to be flatter (less rounded/closer to a straight line) than the one that defines the bottom (in step two). In today's video, i'll show you how to create a beautiful pencil sketch of a mug.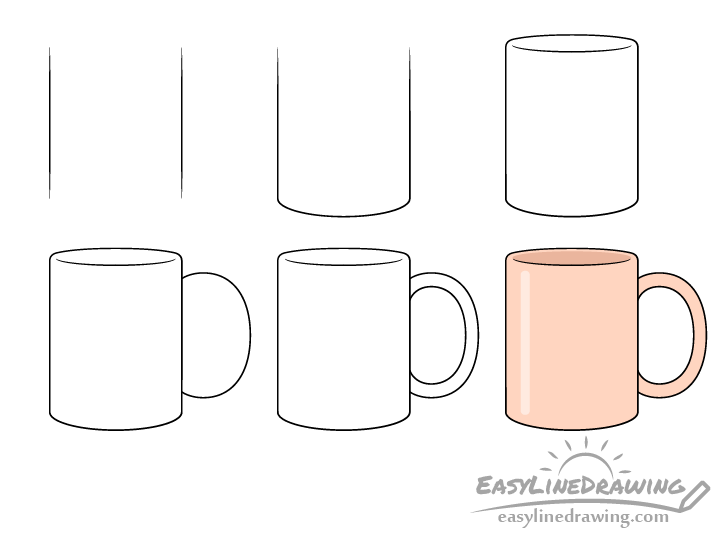
How to Draw a Mug Step by Step EasyLineDrawing
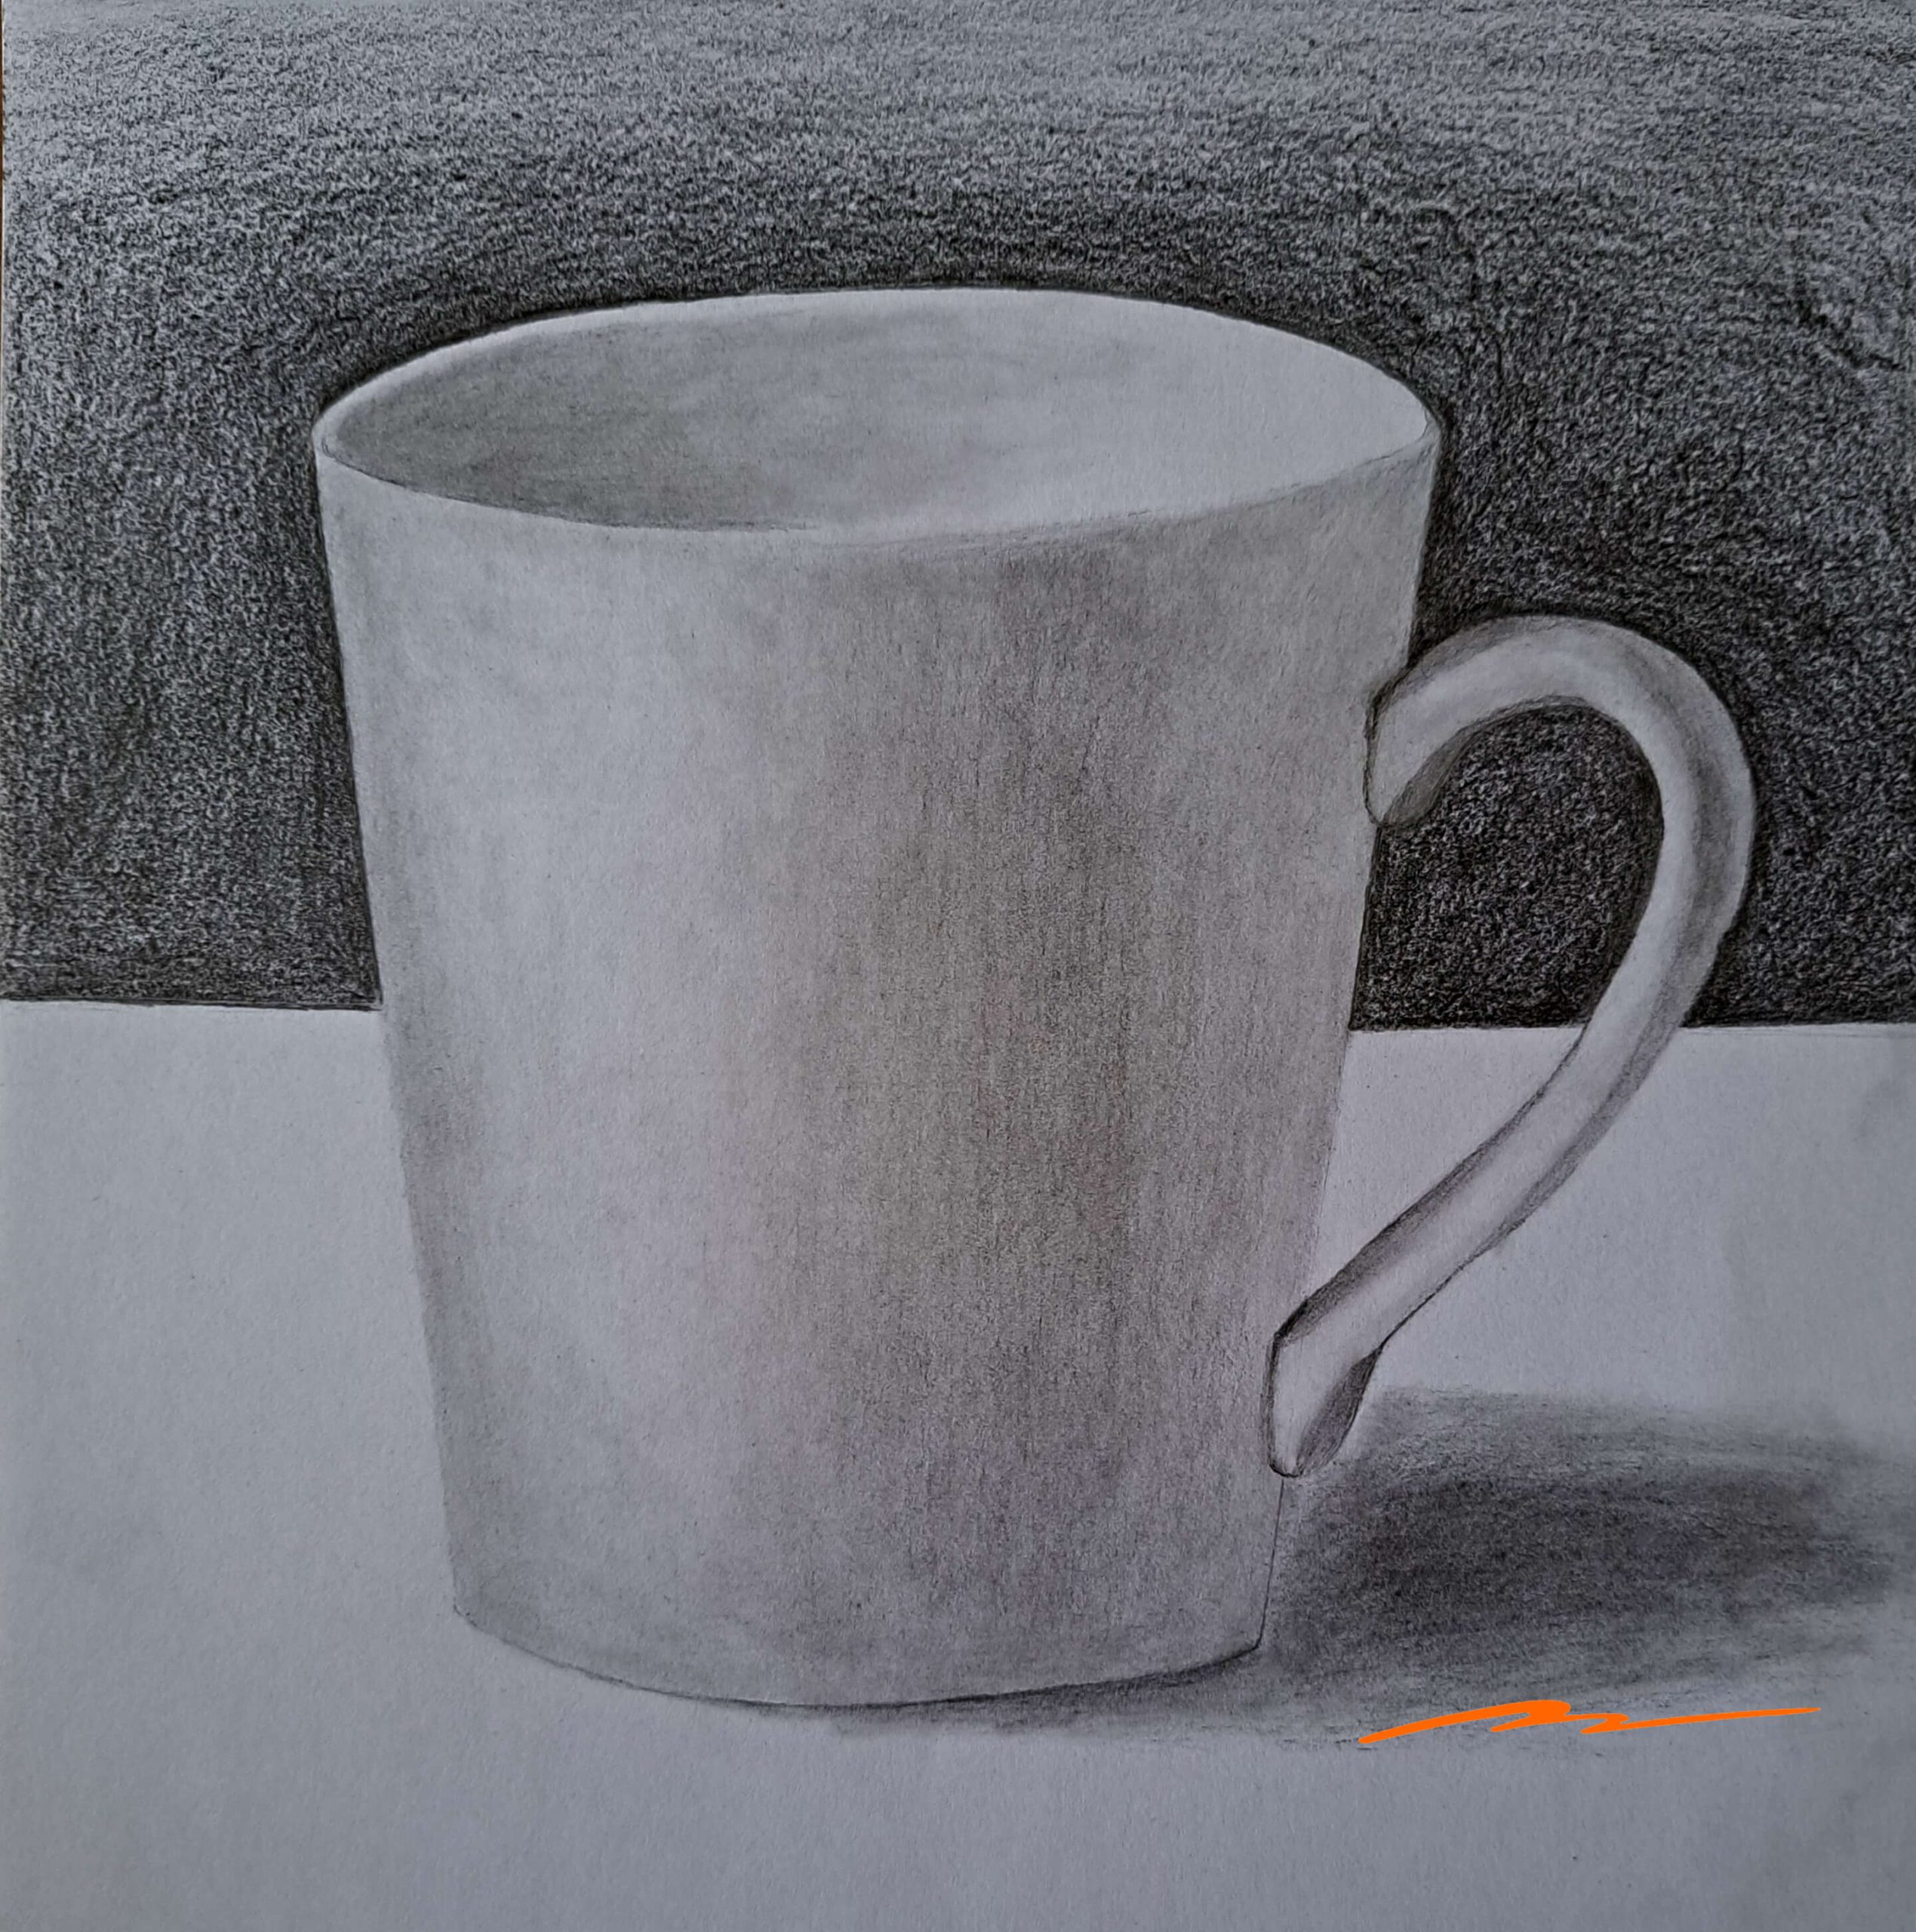
How to Draw a Mug and Shade Like a Pro Muus Art

How to Draw a Mug Step by Step EasyLineDrawing
Cute N Kawaii How To Draw A Kawaii Coffee Cup
How to Draw a Mug Easy Drawing Tutorial For Kids
HOW TO DRAW CUP FOR KIDS CUP DRAWING FOR KIDS, EASY EASY CUP
How to Draw a Mug Easy Drawing Art

How to Draw a Mug Step by Step

Hand drawn coffee cup vector premium image by How to

How to draw a mug Easy drawings YouTube
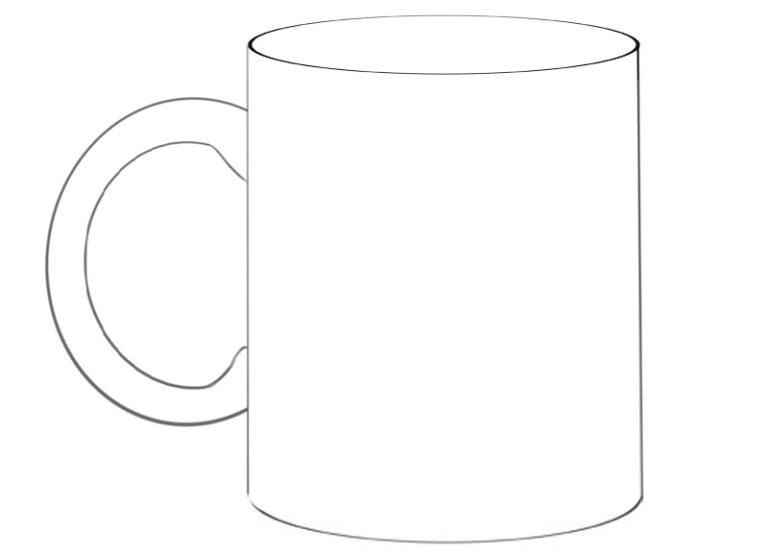
Web Now It’s Time To Add Some Details To Make The Mug Look More Realistic.
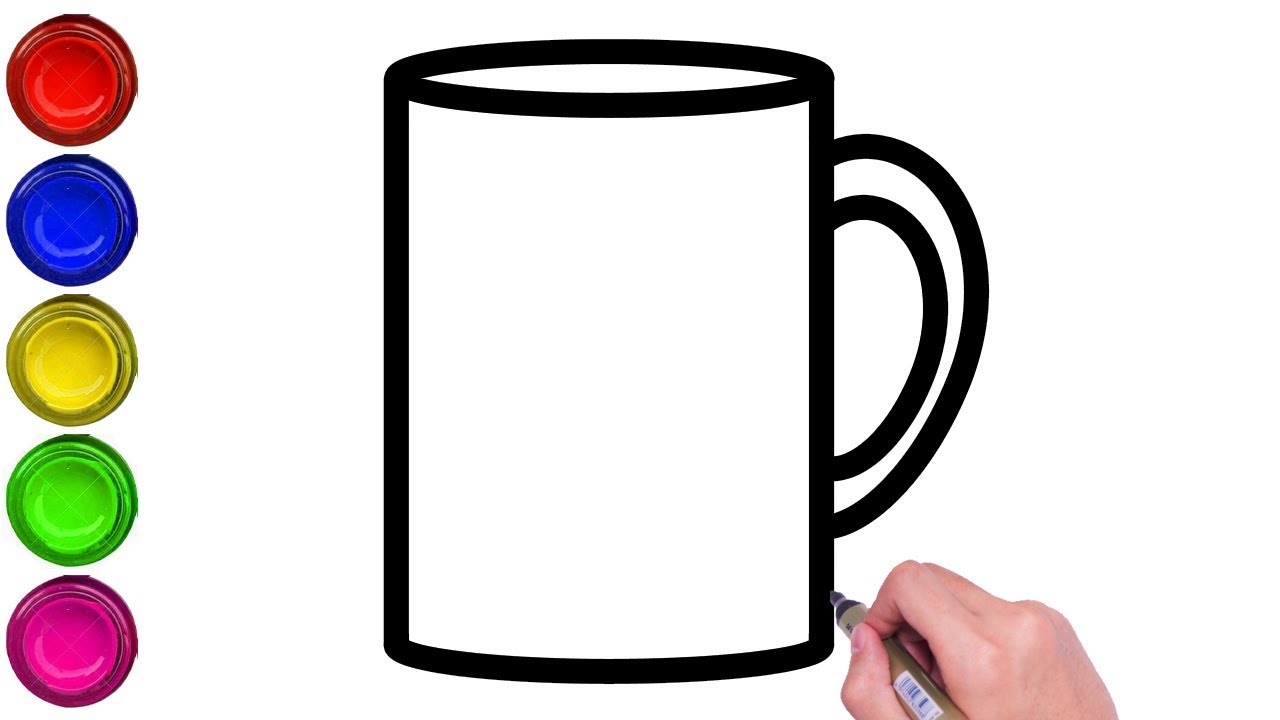
On One Side Of The Mug Draw The Outline Of The Handle.
If You’re Looking For Some Nifty Ideas, A Popular Trend Is To Create Letter Initials.
Make Necessary Improvements To Finish.
Related Post: